
 Under-cabinet LED lighting can do wonders for both the look and function of your kitchen. These little lights aren’t just about illumination; they add class and convenience to your culinary corner. First off, let’s chat about the different types of lighting. LED strips are often top picks because they’re easy to install, sit snugly under your cabinets, and give off a sleek, modern vibe.
Why LED strips? Imagine having a source of bright light that’s efficient and cooler than those old-school bulbs. LED strips shine in terms of energy savings and longevity. Plus, they come in various colors, letting you match your kitchen’s aesthetic. When choosing your LED lighting, consider factors like color temperature, which can set the mood, whether you’re after a cozy warm glow or a crisp, clear light.
Don’t forget about lumens and strip length, too. Lumens tell you how bright the light will be, and for a kitchen, you’ll want something on the brighter side to avoid straining your eyes. And strip length is crucial—measure twice, cut once, right? You want lights that fit perfectly under your cabinets without any awkward gaps.
So, ready to revamp your kitchen lighting with these cool, efficient LEDs? You’re in the right place! Next up, I’ll guide you through where exactly to position these lights for the best effect.
Strategic Placement: Where to Install LED Lights
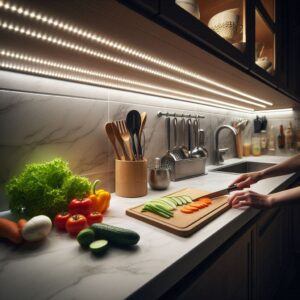
Positioning your under-cabinet LED lights is all about maximizing both light coverage and aesthetics. The wrong spot can leave you with shadows or uneven lighting, and nobody wants that when they’re chopping veggies or mixing up a batter.
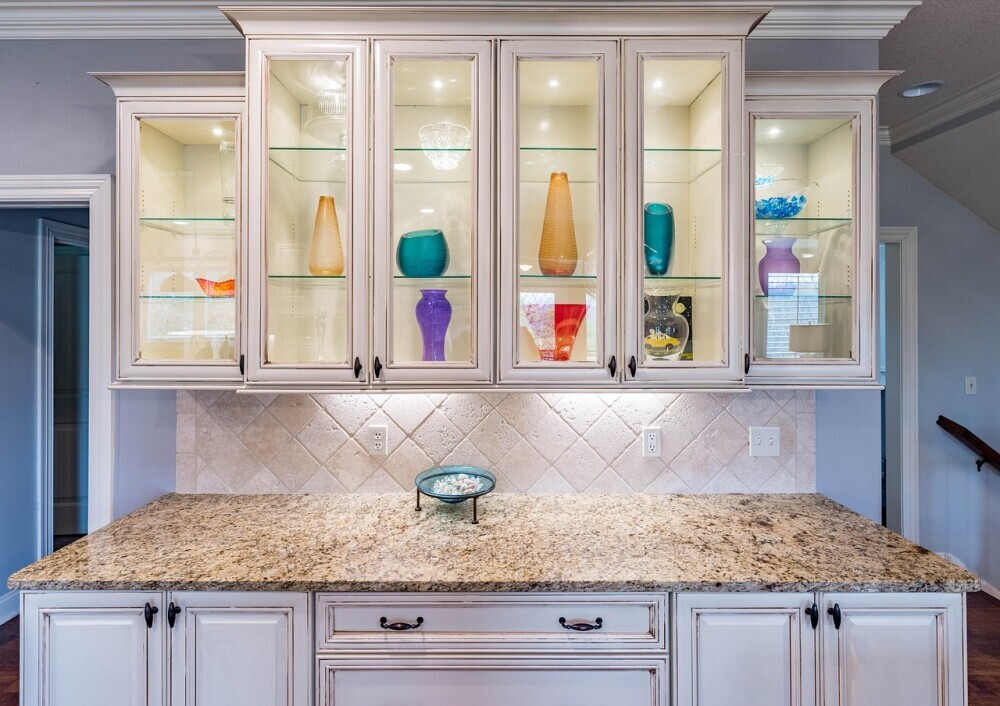
One of the key positions for these lights is close to the front of the cabinets. This placement casts a nice, even glow on your workspace without creating harsh shadows on your counters. If your cabinets have a lip or trim, tucking the strips behind them can keep the lights out of sight, giving you that sleek, seamless look.
For different cabinet designs, you’ll want to tweak your positioning approach slightly. Long, uninterrupted cabinets may benefit from a single continuous strip, while those with dividers may need multiple strips to maintain consistent lighting across each section.
Watch out for common mistakes, though. Installing too far back can throw off the balance, creating a tunnel effect with most of the light hitting the back wall. Another error is over-lighting, which can make your kitchen feel more like a show stage than a cozy cooking space.
Remember, the perfect placement not only enhances visibility but also complements your kitchen’s style. Next, you’ll need to gather your tools and tackle the installation—I’ll walk you through that process.
Installation Essentials and Step-by-Step Guide
You’ve picked out your perfect LED strips and figured out just where they’re going, but now comes the hands-on part—installation. A little prep work goes a long way, so let’s make sure you have everything you need. Grab a tape measure, wire stripper, adhesive clips or mounting brackets, a drill, and possibly a screwdriver. And don’t forget your trusty transformer if it’s necessary for your setup—more on that in a sec.
Speaking of transformers, whether you need one depends on your LED strips. Most run on a low voltage, which means you’ll need a transformer, especially for converting household power. It’s a key component that ensures your lights work smoothly and won’t flicker annoyingly. Some have a built-in battery that needs to be charged ever so often, depending on how often you use them. These can be left plugged in and act as a backup lighting when the electricity goes out. Other LED lights have a case that holds replaceable batteries like a common double-A battery.
Onto the installation itself. Start with a clean, dry surface for the best adhesion. Measure your cabinet lengths and cut the LED strips down to size if needed. Make sure the strips have connectors ready at the end, so all the pieces play nicely together.
Attach the strips using adhesive backing or mounting brackets—whichever your setup requires. Be sure they’re secured, as you don’t want them falling off mid-dinner prep. Wiring comes next. This is where you connect your strips to that transformer we chatted about. Follow the included instructions or consult a pro if electrical work isn’t your forte.
Safety first, always! Handle everything with care, and if at any point you feel unsure, getting help from an electrician is your best bet. Complete the setup with the final checks to ensure everything’s snug and well-connected.
Feels pretty empowering to install your own under-cabinet lighting, right? Up next, I’ll share some tips to keep your lights shining bright.
Enhancing Your Kitchen with LED Lighting: Tips and Maintenance
You’re basking in the glow of your new under-cabinet LEDs, but let’s keep them looking their best with some upkeep and styling advice. For starters, plan out your overall kitchen lighting scheme to complement the under-cabinet setup. Mix in ambient ceiling lights or pendant lighting for extra flair without going overboard.
Cleaning your LED strips might not be top of mind, but dust and grime can dim their shine over time. Wipe them down with a dry cloth occasionally, and avoid harsh cleaners that could damage the strips or their adhesives.
If you’re facing any hiccups like flickering or a random blackout, don’t freak out! Check your connections first to ensure nothing’s come loose. Sometimes a simple adjustment can bring things back to normal. And if it’s a transformer issue, a quick replacement could solve it.
For longevity, consider investing in high-quality LEDs. They may be pricier initially, but they often score better in efficiency and durability, saving you cash in the long run by dodging frequent replacements.
On the efficiency front, future trends in LED technology promise even smarter options with built-in sensors or app controls for better energy management. Keeping an eye on these advancements can enhance your setup.
Now that your kitchen is all jazzed up with brilliant lighting, you’re not just cooking dinner—you’re setting the mood for whatever culinary masterpiece you’re about to create. Enjoy the perk of having a stylish and functional kitchen!